Installation Guide: CHARP Maxi (Watteco)
Before You Begin
Please verify that you have received the following devices:
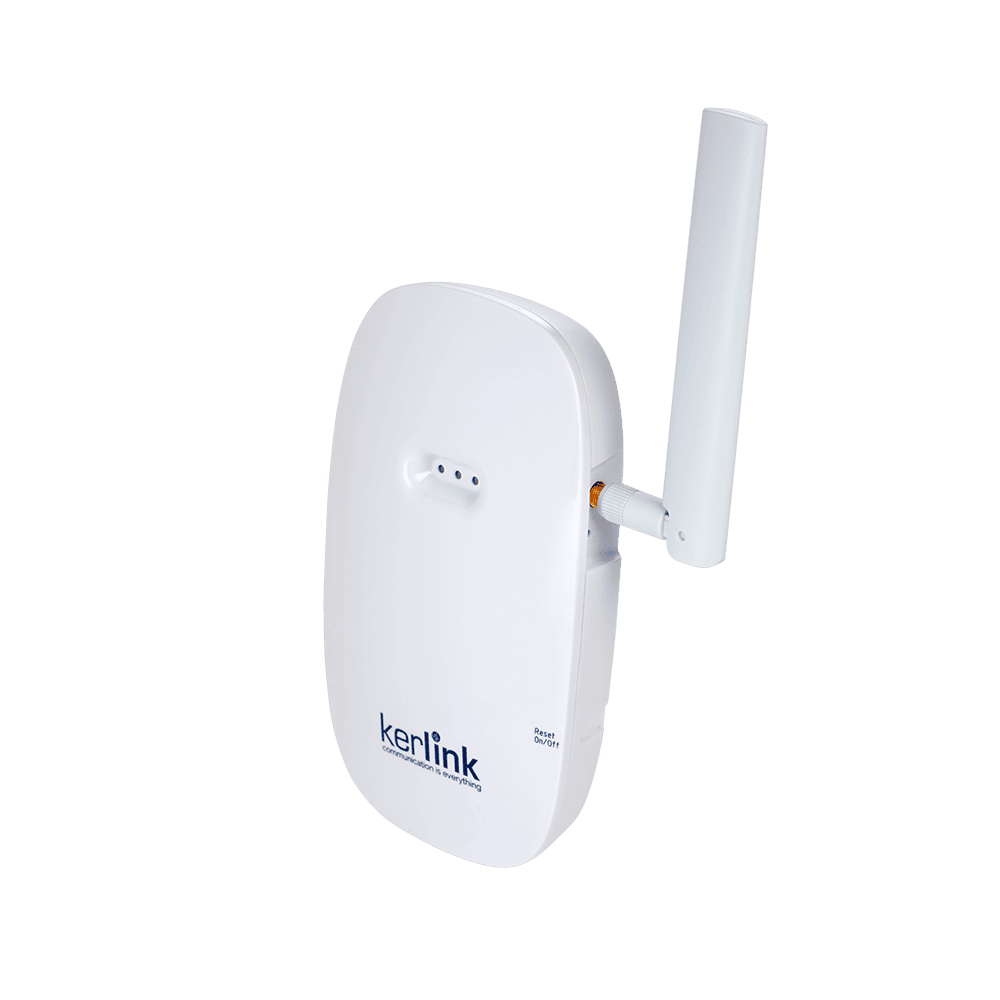
- LoRaWAN Gateway -- relays data from your CHARP devices to the cloud
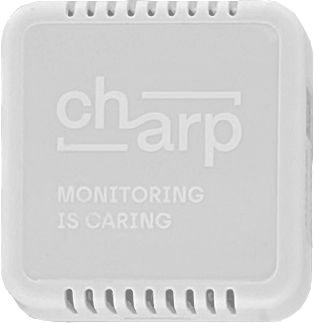
- CHARP Maxi (Watteco) logger(s) -- high-accuracy environmental sensors
Overview
The installation process consists of three simple steps:
- Install the LoRaWAN gateway in a central location
- Physically install the CHARP Maxi (Watteco) loggers near the objects you want to monitor
- Wait -- the devices auto-communicate and begin transmitting data within hours
Getting to know the hardware
LoRaWAN Gateway
The gateway relays measurement data from your CHARP devices to the cloud using the LoRaWAN wireless protocol. It requires:
- A power connection (supplied power adapter)
- A network backhaul: Ethernet (primary) or 4G (secondary)
By default, gateways are configured to use 4G and are fully autonomous -- no network configuration is needed out of the box.
CHARP Maxi (Watteco)
The CHARP Maxi (Watteco) is a high-accuracy environmental logger that measures:
- Temperature
- Relative Humidity (RH)
Device placement
Gateway placement
- Choose a central location within the building
- Place it near a power socket
- Ideally in an area with decent 4G reception and access to an Ethernet port
- Indoor range is typically several hundred meters
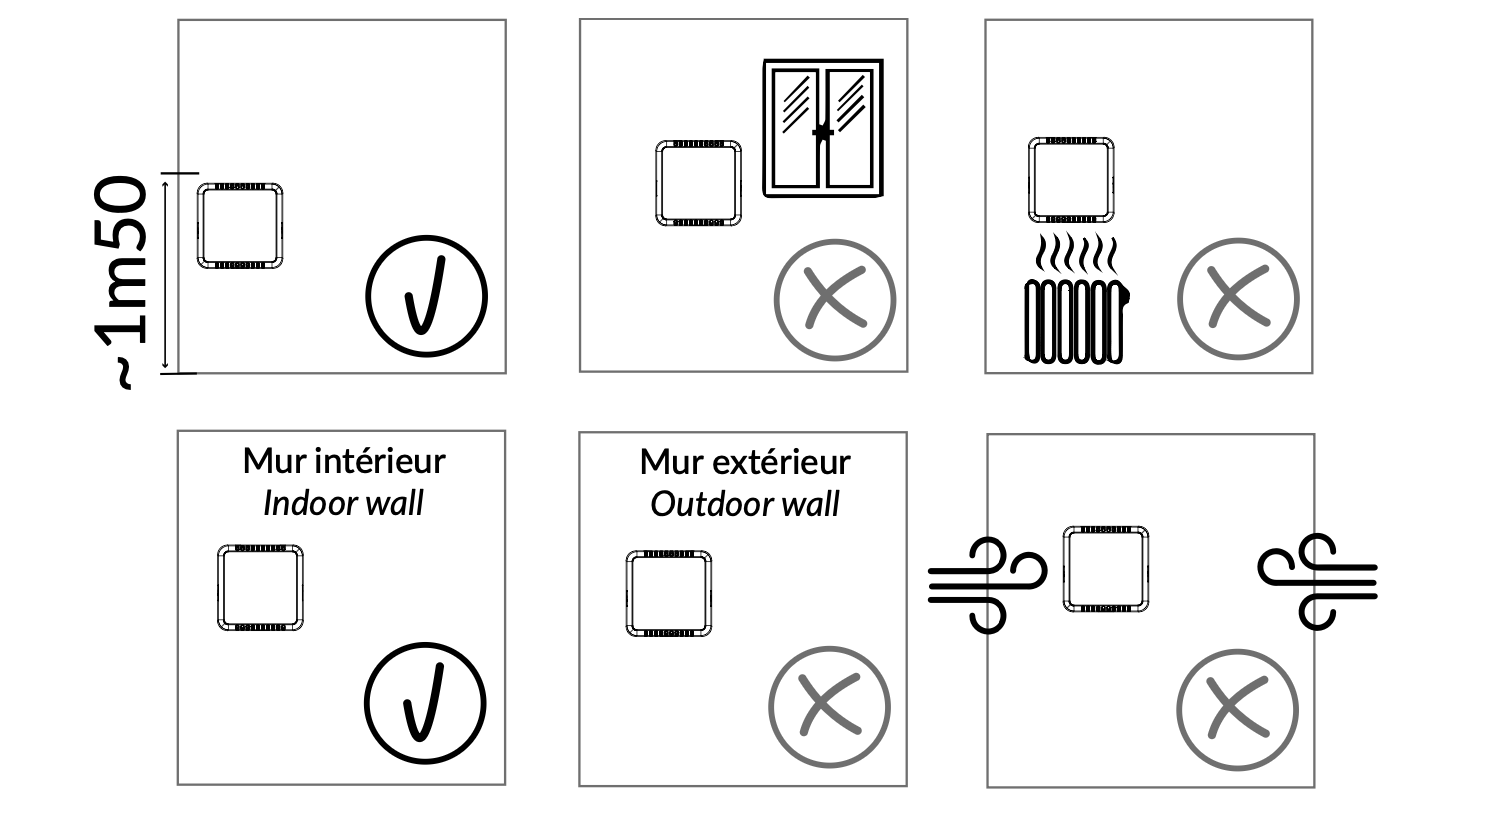
Maxi placement
- Position the Maxi near the objects you want to monitor
- Mount it on an indoor wall
- Place it at least 1.5 meters above ground level
- Keep it away from windows and heat sources (radiators, direct sunlight, HVAC vents)
Installing the Gateway
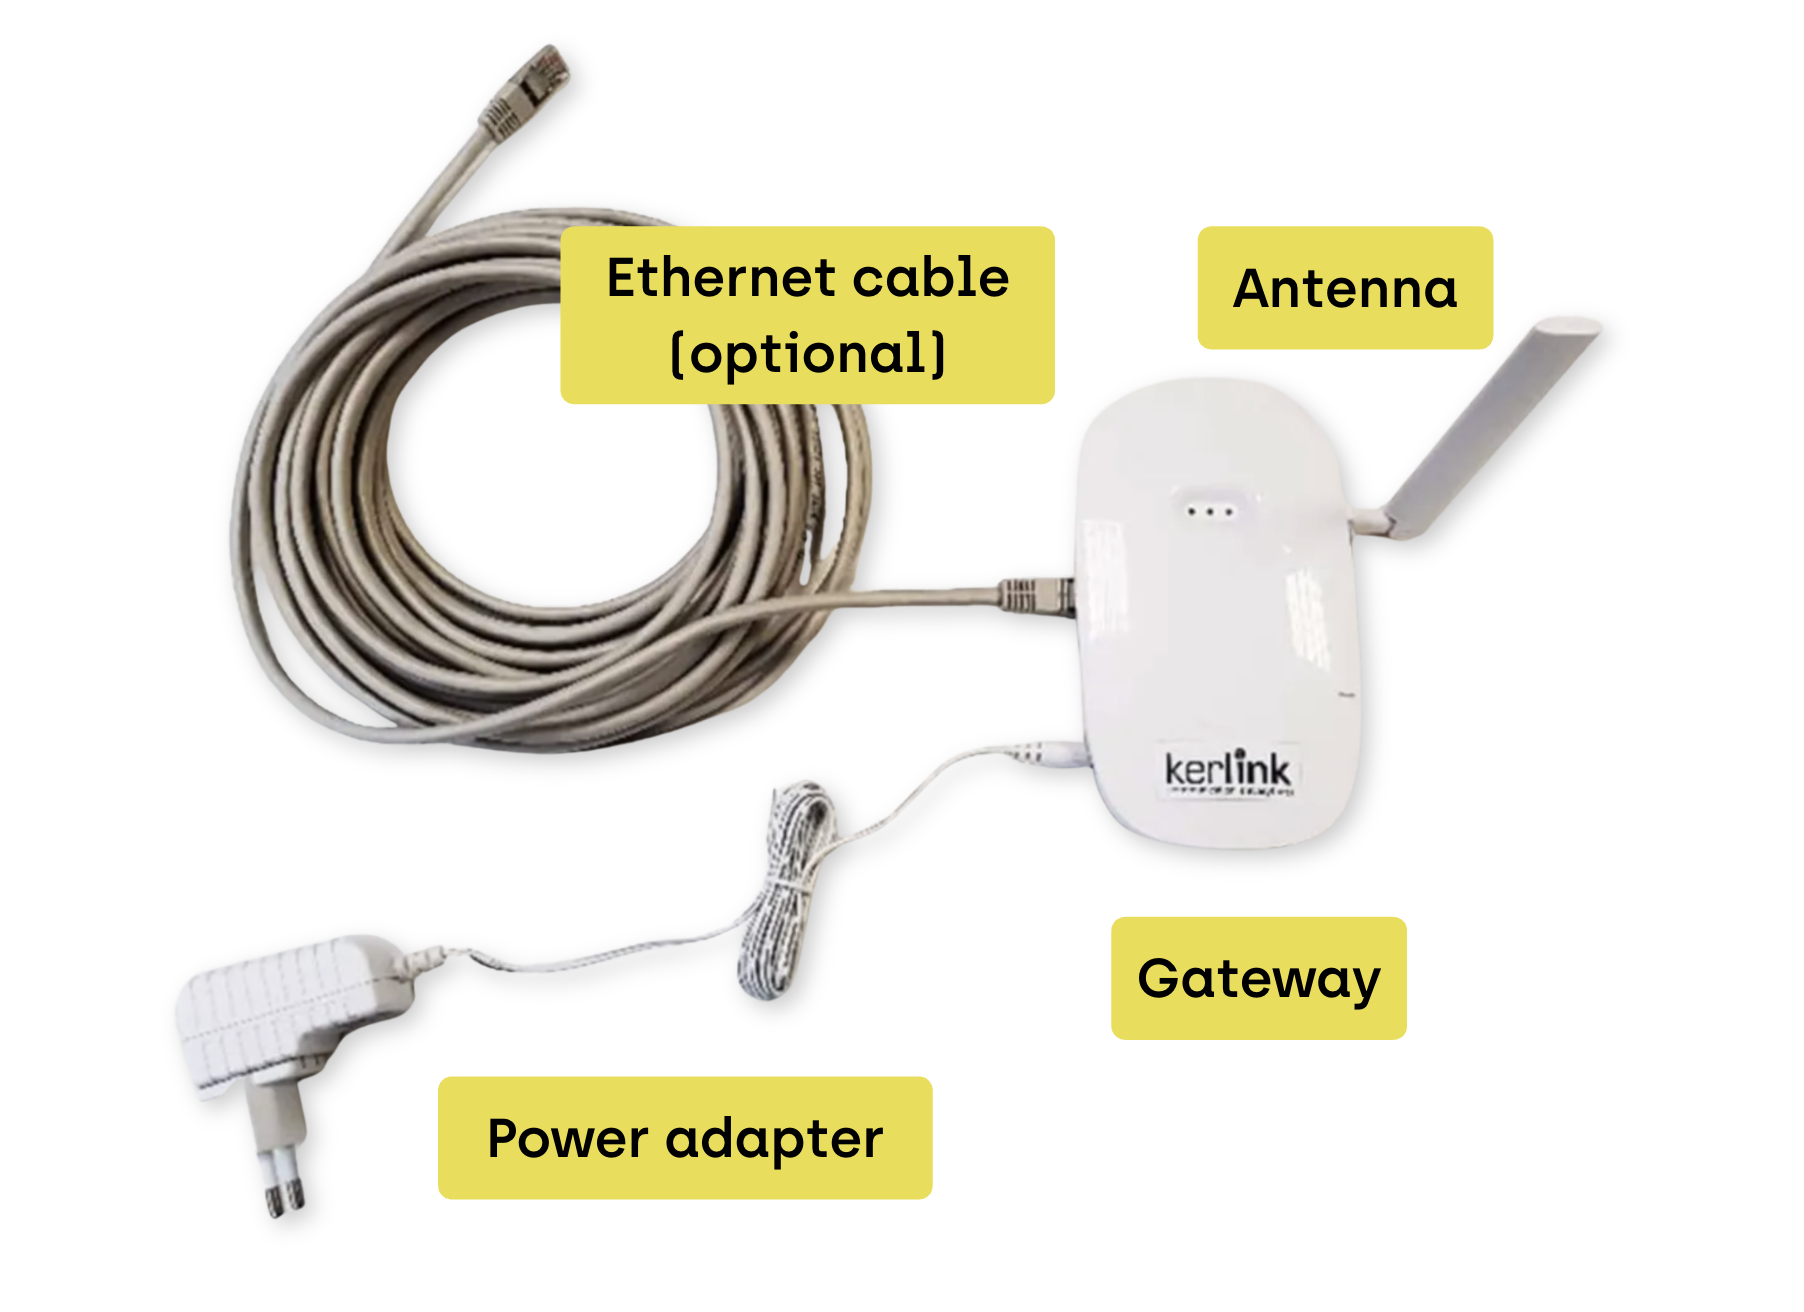
Step 1: Attach the antenna
Always screw on the antenna before powering the gateway. Operating without an antenna can damage the device.
Screw the provided antenna onto the antenna connector on the gateway.
Step 2: Position the gateway
The gateway can be installed in two ways:
- Horizontal placement -- simply place it on a desk or shelf
- Wall-mounted -- use the keyhole slots on the back of the device
Step 3: Connect to the network
| Option | Description |
|---|---|
| 4G (default) | No configuration needed. The gateway connects automatically via 4G. |
| Ethernet | Connect an Ethernet cable from the gateway to your network port for a wired connection. |
When successfully connected, the gateway displays two green LEDs.
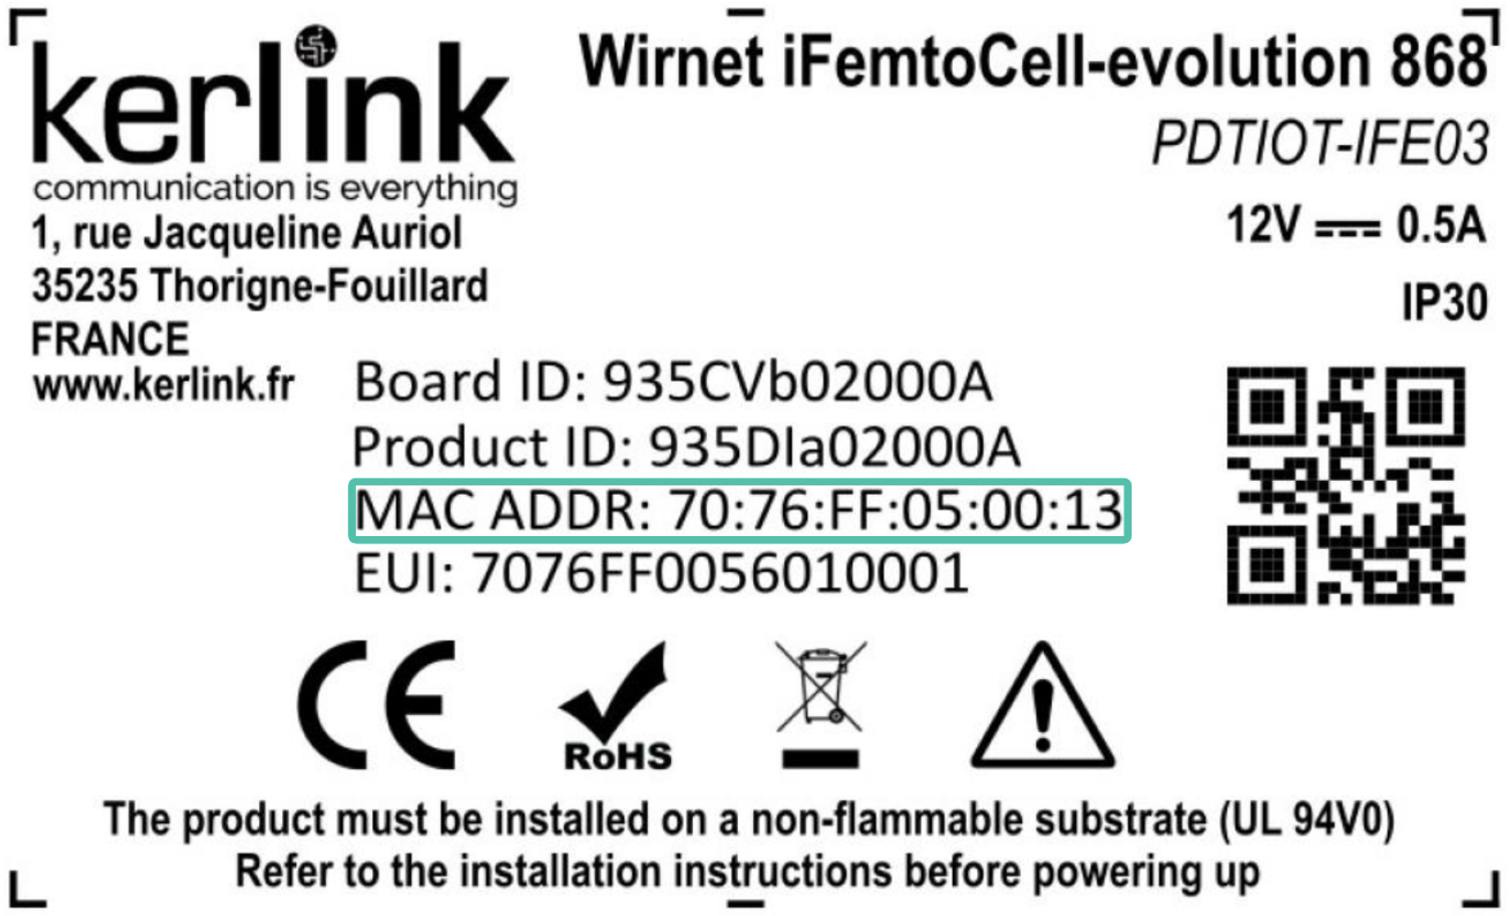
Some corporate Ethernet networks have locked ports that require IT whitelisting before the gateway can connect. If the gateway does not show two green LEDs after connecting via Ethernet, consult your IT department. The MAC address can be found on the label on the underside of the gateway.
Installing the CHARP Maxi (Watteco)
Your CHARP Maxi (Watteco) devices are already activated and configured -- no software setup is required.
Screw mounting
-
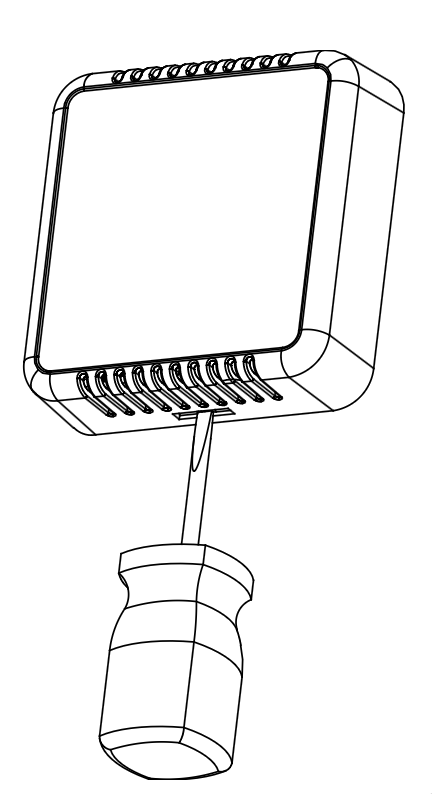
Remove the front cover by inserting a flathead screwdriver into the seam and gently prying it open
-
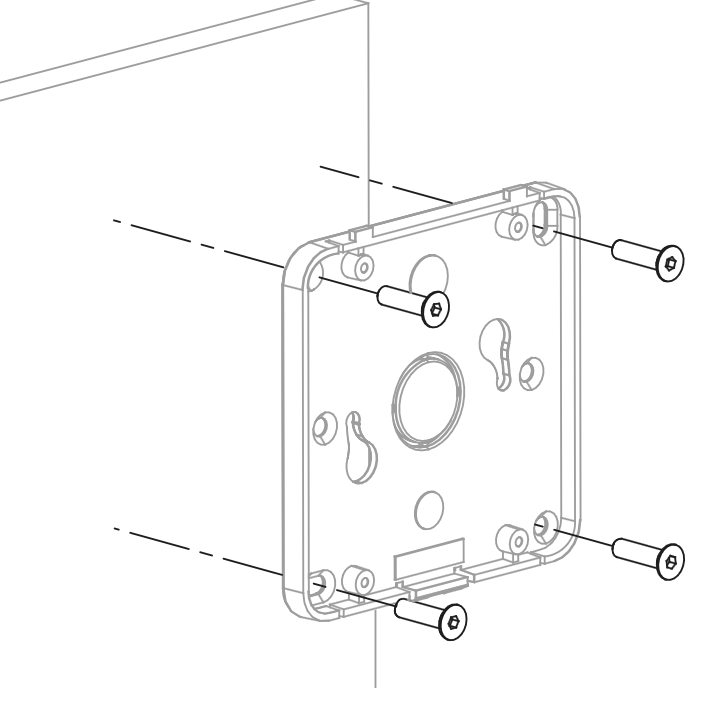
Mount the backplate to the wall using screws
-
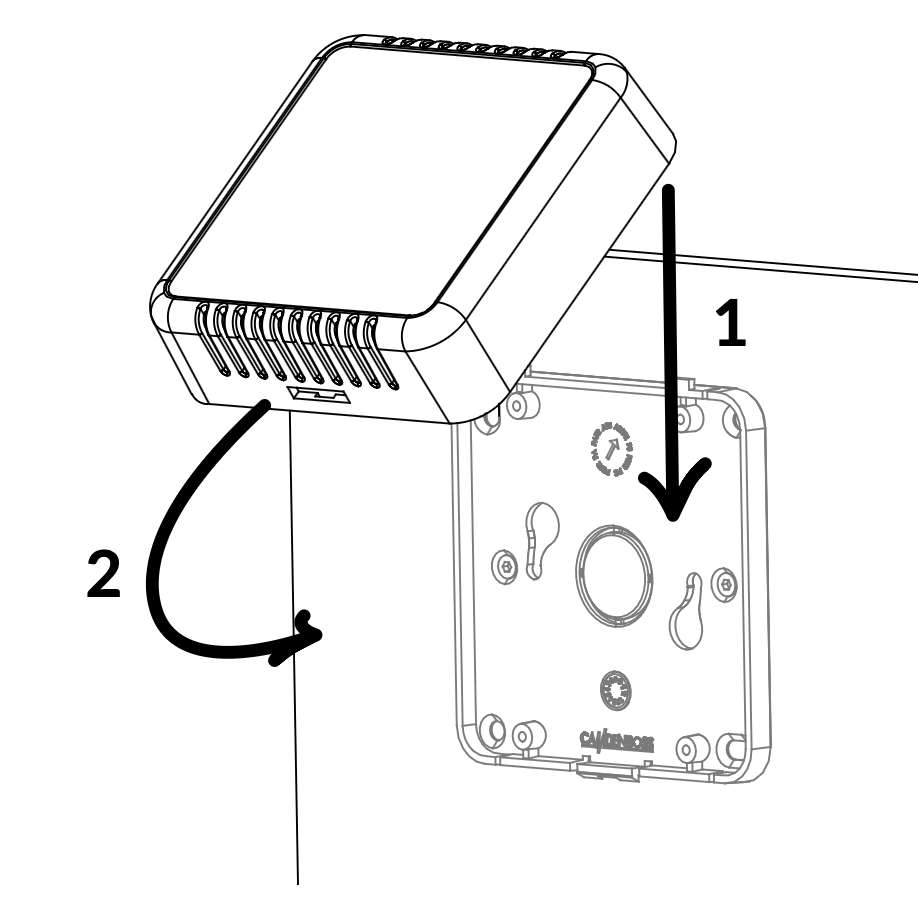
Clip the front cover back onto the backplate until it clicks into place
Unlike the standard CHARP Maxi (which uses a plastic tool), the Watteco variant requires a flathead screwdriver to open the casing.
Re-establishing the connection
If your CHARP Maxi (Watteco) is not communicating, you can re-establish the connection using a magnet. Hold the magnet near the side of the device that has the gear stickers.
You can use another CHARP Maxi as a magnet source, since the standard Maxi contains internal magnets.
Turning on
- Hold the magnet near the device for approximately 1 second
- The red LED flashes rapidly, followed by the green LED flashing slowly
- The device is now active and will begin transmitting data
Turning off
- Hold the magnet near the device for approximately 5 seconds
- The red LED flashes slowly 5 times
- The device is now off
Re-establishing communication
To re-establish a lost connection:
- Turn off the device (hold magnet for 5 seconds, wait for 5 slow red LED flashes)
- Restart the device (hold magnet for 1 second, wait for rapid red LED then slow green LED)
The device will reconnect to the gateway and resume transmitting data.