Installation Guide: CHARP Maxi
Before You Begin
Please verify that you have received the following devices:
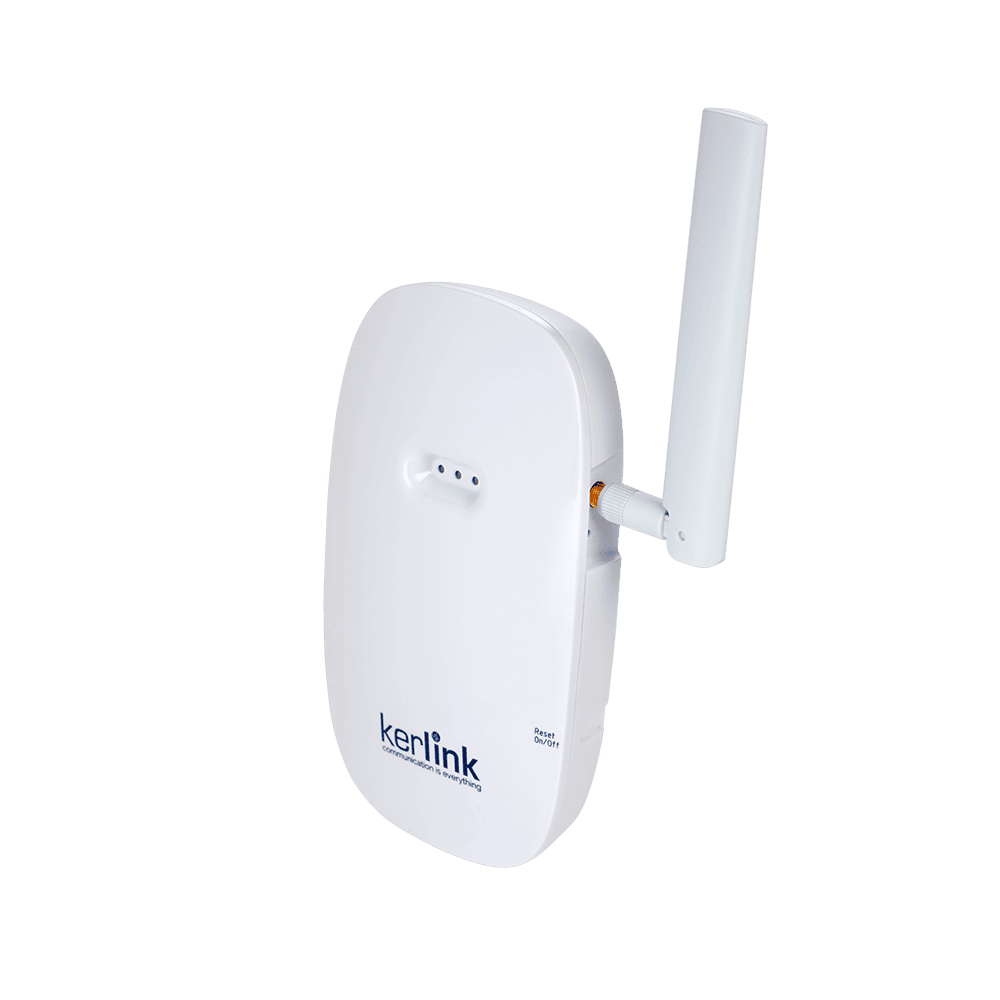
- LoRaWAN Gateway -- relays data from your CHARP devices to the cloud
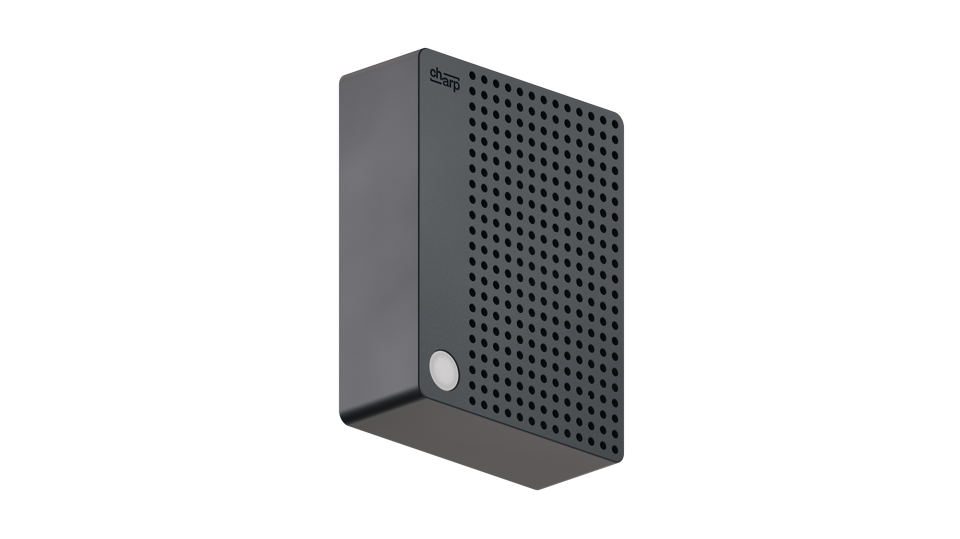
- CHARP Maxi logger(s) -- high-accuracy environmental sensors
Overview
The installation process consists of three simple steps:
- Install the LoRaWAN gateway in a central location
- Physically install the CHARP Maxi loggers near the objects you want to monitor
- Wait -- the devices auto-communicate and begin transmitting data within hours
No manual pairing or software configuration is required.
Getting to know the hardware
LoRaWAN Gateway
The gateway relays measurement data from your CHARP devices to the cloud. It sets up a private LoRaWAN network, which is used to send data from the loggers via the LoRaWAN wireless protocol. It requires:
- A power connection (supplied power adapter)
- A network backhaul: Ethernet (primary) or 4G (secondary)
By default, gateways are configured to use 4G and are fully autonomous, i.e. no specific configuration of the network is needed.
CHARP Maxi
The CHARP Maxi is a high-accuracy environmental logger that measures:
- Temperature
- Relative Humidity (RH)
- Light intensity
Device placement
Gateway placement
- Choose a central location within the building
- Place it near a power socket
- Ideally in an area with decent 4G reception and access to an Ethernet port
- Indoor range is typically several hundred meters
Maxi placement
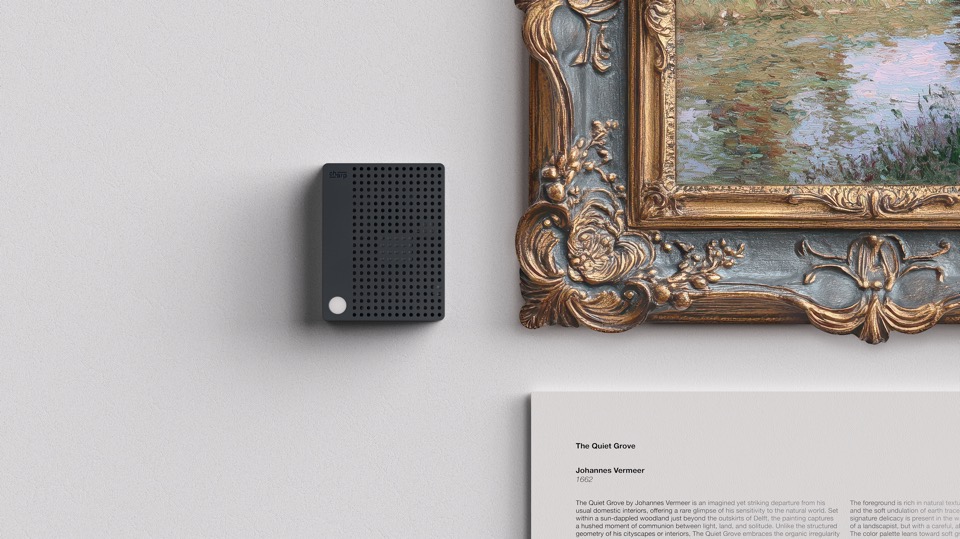
Mount or place the loggers simply where you need environmental conditions to be monitored, e.g. close to an object of interest, or at a point that best represents the overall climate of a storage room. Place the logger with the ventilation holes free from obstruction, and with the light lens at the bottom left corner.
Installing the Gateway
Step 1: Attach the antenna
Always screw on the antenna before powering the gateway. Operating without an antenna can damage the device.
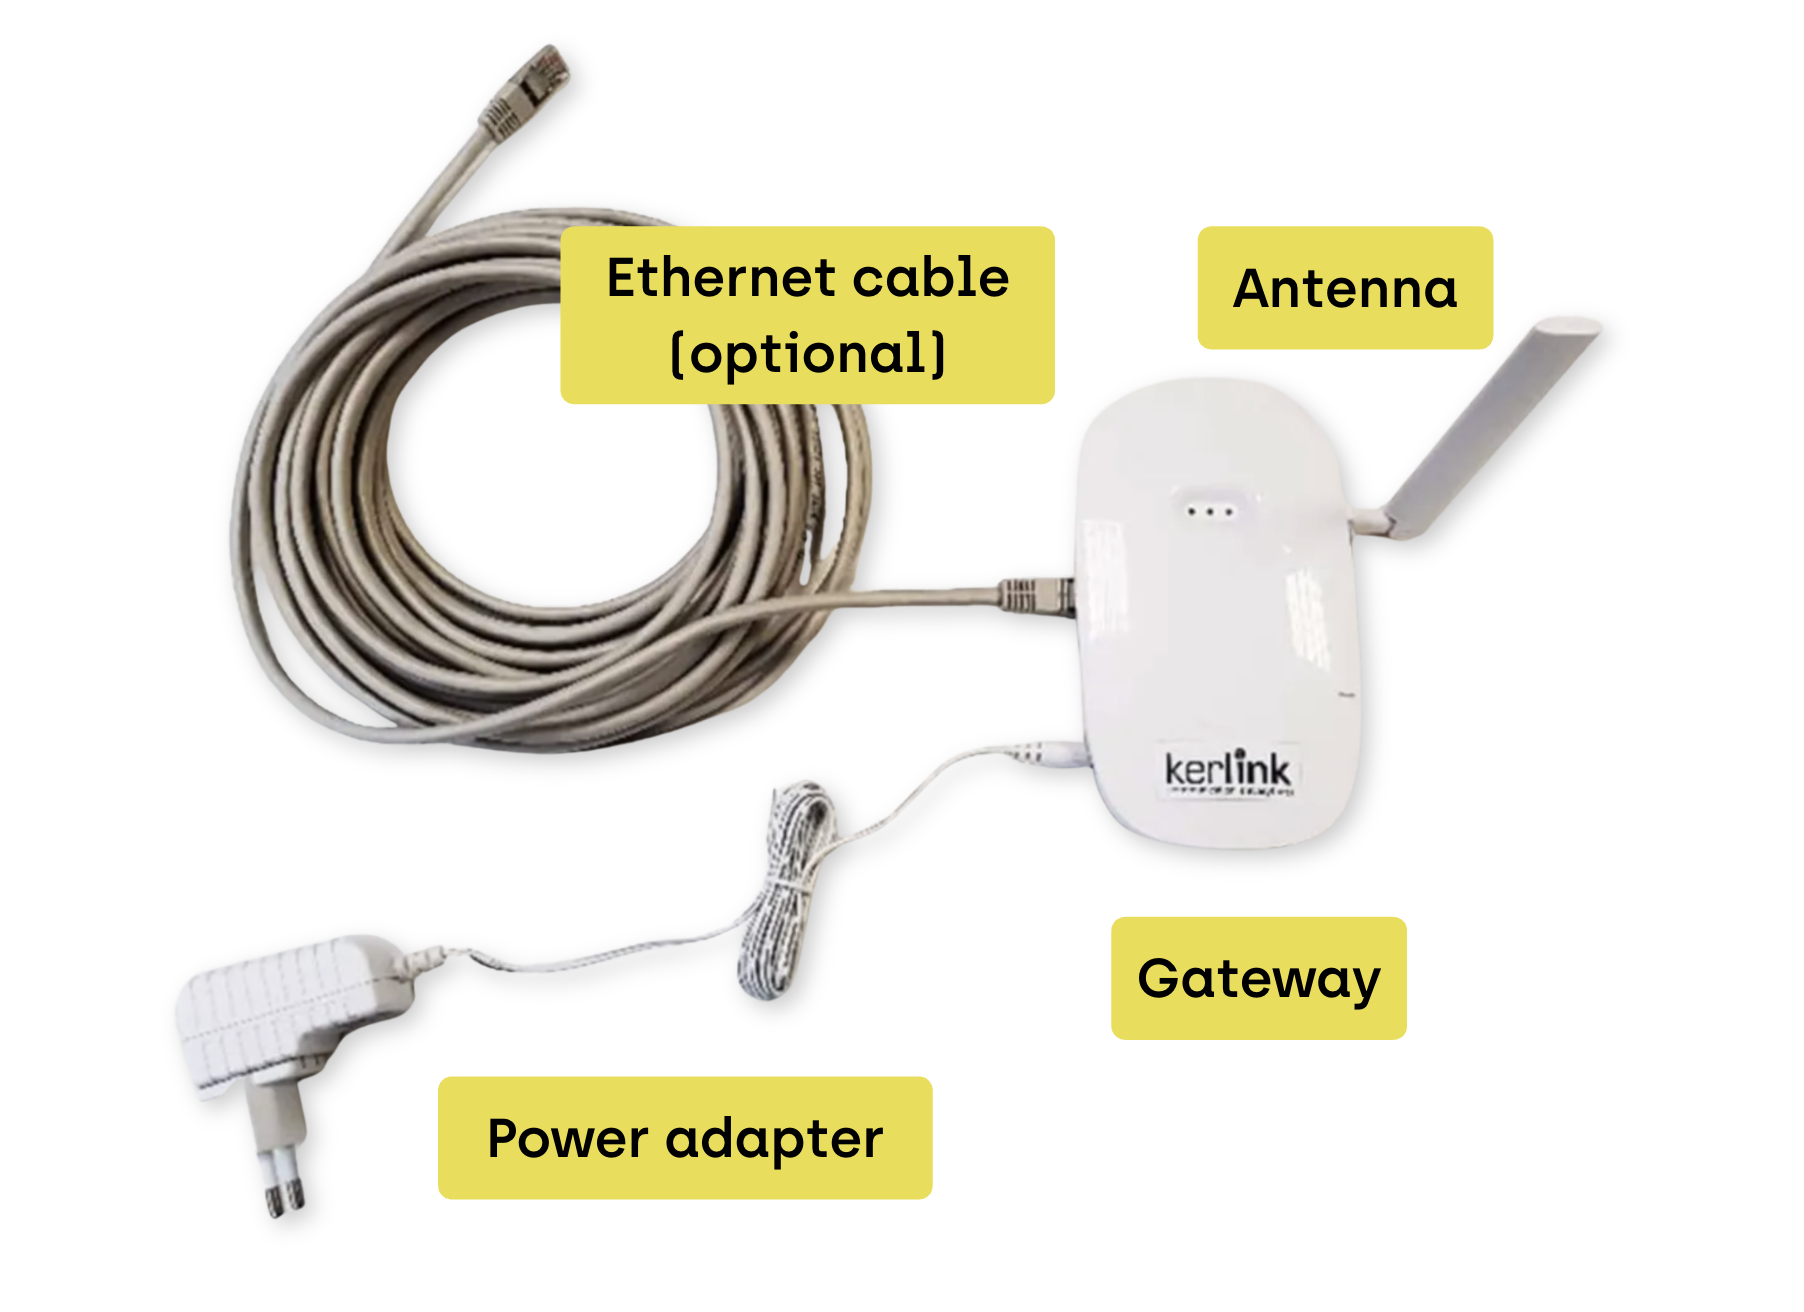
Screw the provided antenna onto the antenna connector on the gateway.
Step 2: Position and power the gateway
Place the gateway on a central location in the zone to be covered. The gateway can be installed in two ways:
- Horizontal placement -- simply place it on a desk or shelf
- Wall-mounted -- use the keyhole slots on the back of the device
After placement, power the gateway using the standard adapter plug supplied with interchangeable regional mounts (default) or the foreseen RJ45 connector (PoE).
Step 3: Connect to the network
By default, the gateway uses the mobile network (4G) to transmit data. As an alternative backhaul it can also connect to the Ethernet network. Before powering the device, connect it with an Ethernet cable to a network port. Once the gateway established connection, two green LEDs light up.
The two backhaul options are:
| Option | Description |
|---|---|
| 4G (default) | No configuration needed. The gateway connects automatically via 4G. |
| Ethernet | Connect an Ethernet cable from the gateway to your network port for a wired connection. |
When successfully connected, the gateway displays two green LEDs.
Some corporate Ethernet networks have locked ports that require IT whitelisting before the gateway can connect. If the gateway does not show two green LEDs after connecting via Ethernet, the network ports are likely locked down for security reasons.
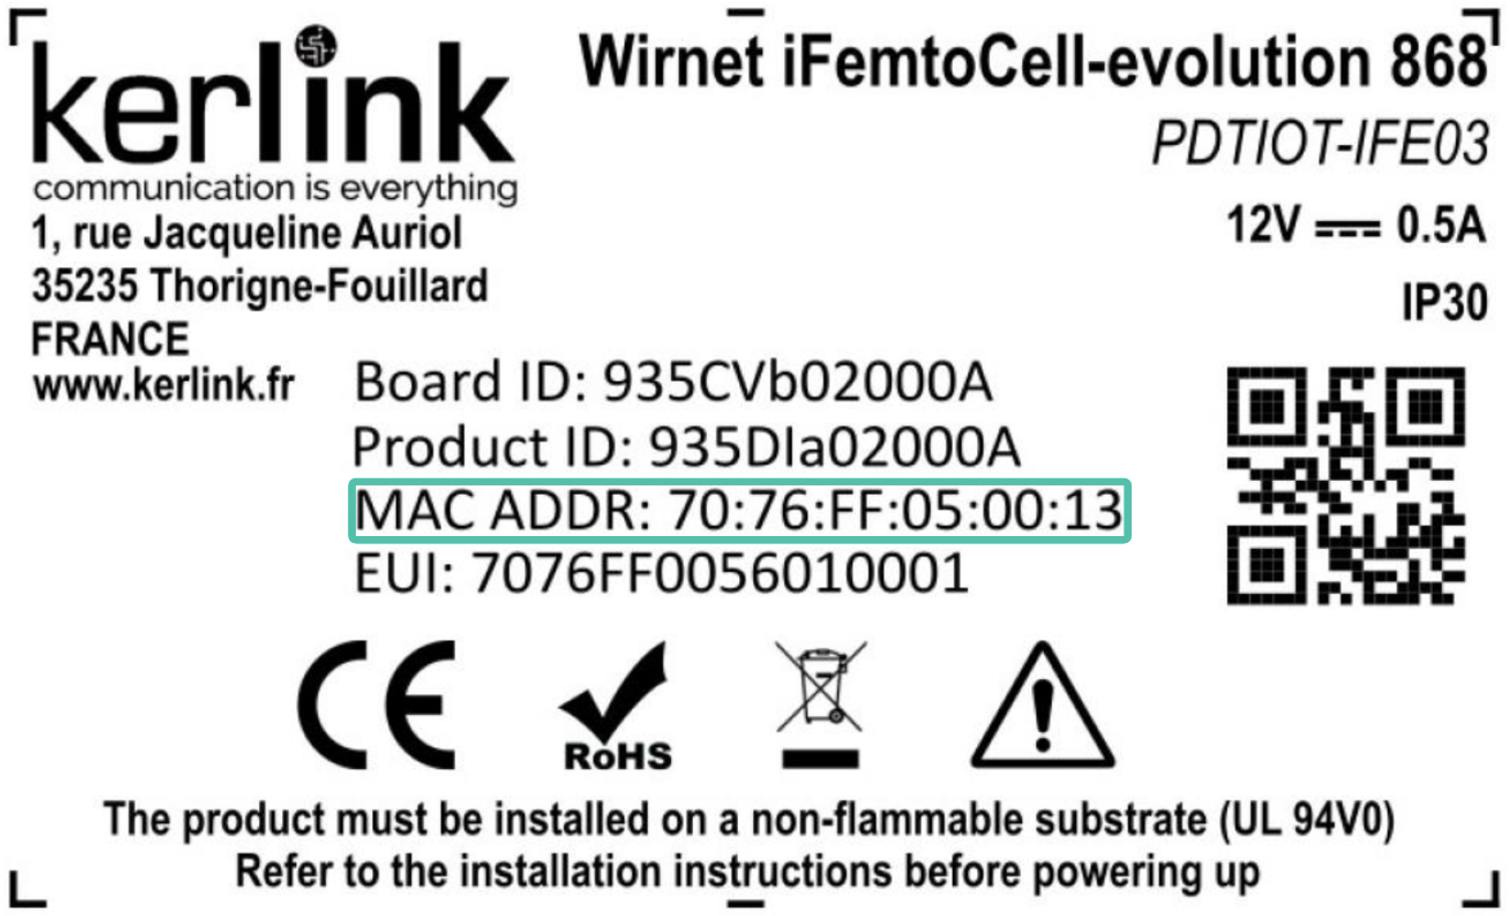
Before connecting a new gateway to your network, consult your IT department. They may need the gateway's MAC address to whitelist the device; you can find it on the label on the back of the gateway.
Installing the CHARP Maxi
Delivered fully configured, with full batteries and sensors calibrated, your CHARP Maxi loggers pair with the LoRaWAN gateways and are ready for immediate use.
Mounting options
Mount the Maxi by making use of the strong internal magnets or using double-side adhesive tape. The Maxi can also be screw mounted. In order to do so, you must remove the bottom part of the device casing and screw fix this part on the supporting surface. Afterwards you can simply click on the top casing.
Magnetic mounting
The CHARP Maxi has internal magnets that allow it to attach directly to any ferromagnetic surface (e.g., metal shelving, steel beams).
Screw mounting
For non-magnetic surfaces, use screw mounting:
- Remove the front cover by inserting the supplied plastic tool into the seam and gently prying it open
- Mount the backplate to the wall using screws (not included)
- Clip the front cover back onto the backplate until it clicks into place
Removing the Maxi
To remove a mounted CHARP Maxi, gently pry it from the bottom using the plastic tool.
Troubleshooting
Device not communicating
If your CHARP Maxi is not sending data after installation, it may have entered a sleep state during transport. You can wake it using the hidden button.
Locating the button
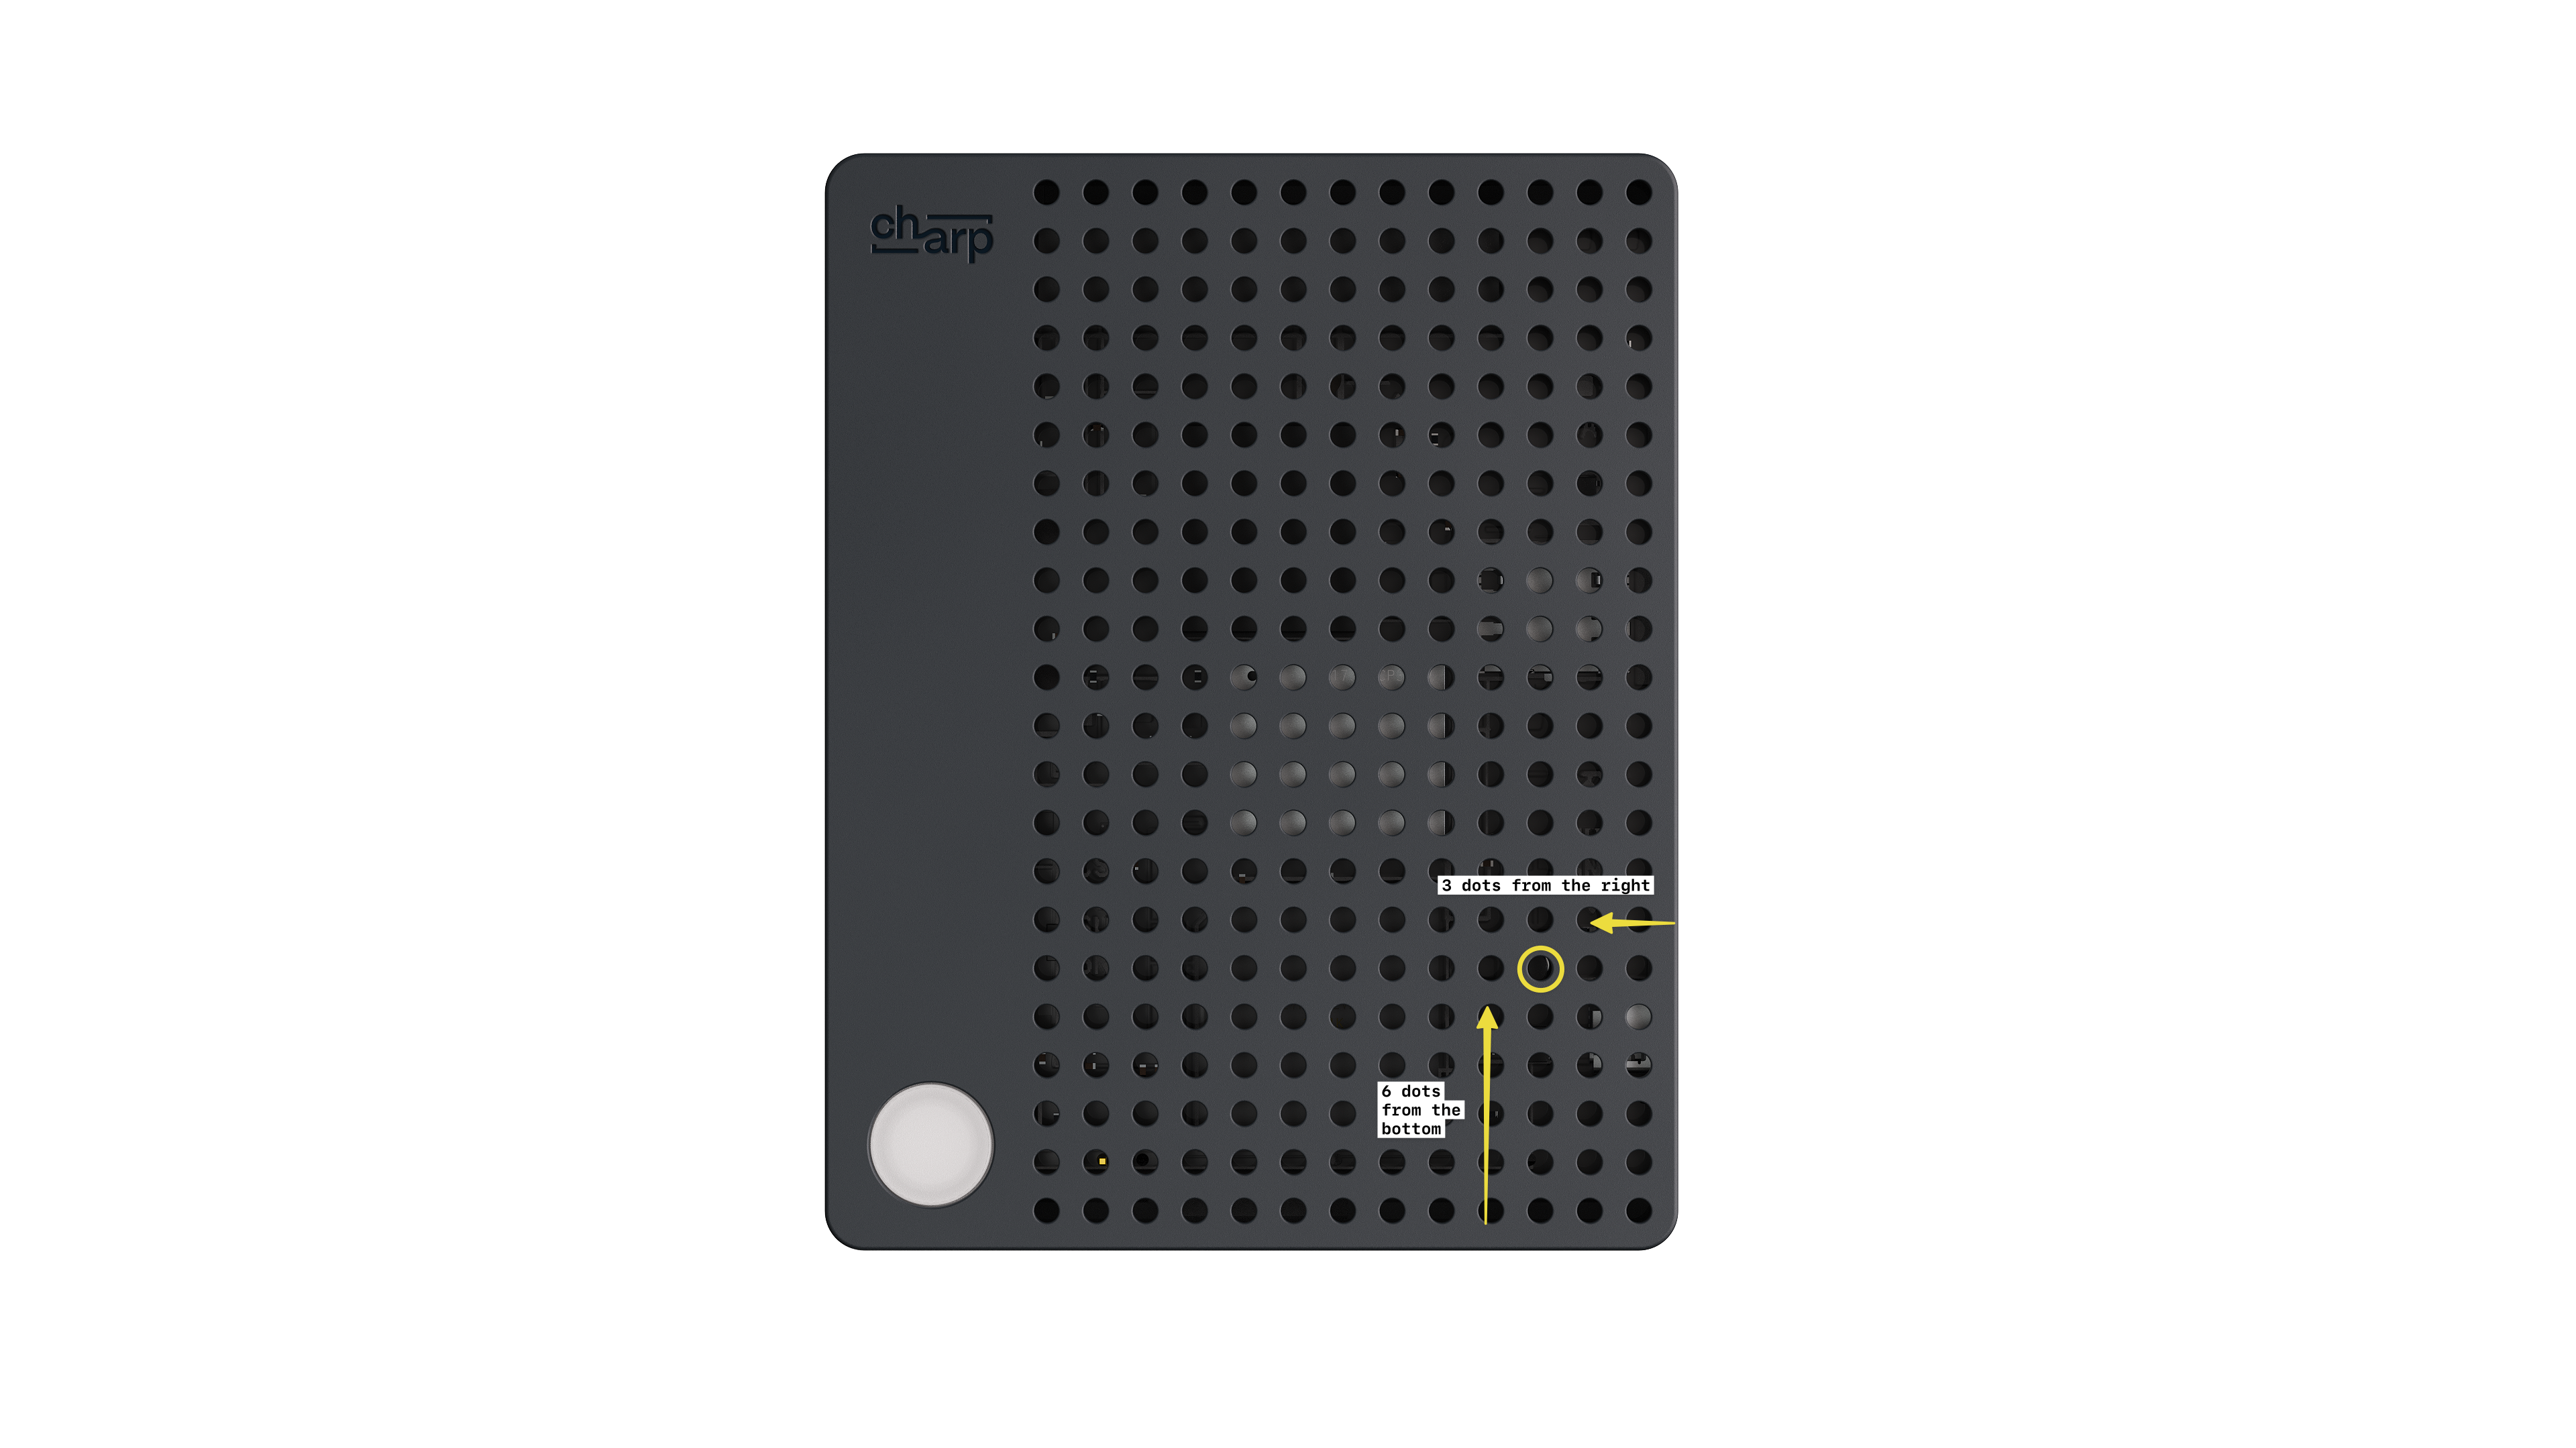
The button is located behind the ventilation holes on the front of the device:
- Count 3 dots from the right
- Count 6 dots up from the bottom
Use a thin pin or paperclip to press the button through the ventilation hole.
Button sequences
| Action | How to Press | Response |
|---|---|---|
| Check battery life | 1 short click (< 1 second) | LED blinks 1--4 times (1 = low, 4 = full) |
| Activate Bluetooth (BLE) | 2 short clicks | BLE is activated for pairing |
| Send notification to CHARP | 3 short clicks | Heartbeat blinks confirm the message was sent |
| Turn on | Short press (1--5 seconds) | LED fades in |
| Turn off | Long press (> 5 seconds) | LED fades out |
If the device is unresponsive, try turning it off (long press > 5 seconds, wait for fade out) and then turning it back on (short press 1--5 seconds, wait for fade in). This re-establishes the connection to the gateway.